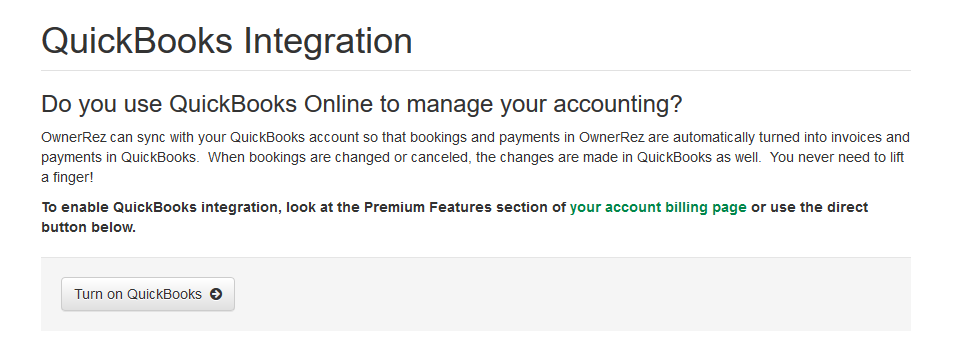
If you use QuickBooks Online to manage your accounting, you'll be happy to know that OwnerRez integrates with QuickBooks Online. Read about how it all works in our QuickBooks Integration Overview article.
This article covers how to connect QuickBooks Online to OwnerRez and the settings you can use to make it work.
Before You Connect
Before connecting, it's important to understand that you must use QuickBooks Online, not the Desktop or offline versions of QuickBooks. We may support the Desktop/offline versions in the future, but currently our integration only works with the Online version.
If you're curious, this is because OwnerRez "talks" directly to the QuickBooks servers over the internet, transmitting booking and payment data. That type of paradigm is not possible if you're offline and using a desktop product. For something like that, we'd have to provide export/import files for you to bring into QuickBooks manually. Modified booking or payment records would not work and there would be conflicts to resolve all the time. The online paradigm is seamless and addresses all of those issues automatically.
Also, you must also have an active QuickBooks account without any billing or subscription problems. Our integration will work during the QuickBooks trial period, but if the trial period expires and you haven't configured a QuickBooks subscription, the integration will stop working.
Connecting QuickBooks to OwnerRez
Go to Settings > QuickBooks to get started.
If you've never turned on the QuickBooks premium feature in OwnerRez, you'll first be asked to do that. QuickBooks Integration is a premium feature, and thus has an extra monthly cost. However you can turn it on, play with it for awhile and turn it off again before being billed. If you need to turn it on, you'll see a couple quick screens that will walk you through that.
After the QuickBooks Integration premium feature is turned on, you'll see a page showing you a QuickBooks tile to connect.
After you click the "Connect to QuickBooks" button, you'll be redirected to Intuit's website, where it will ask you to log in, select your QuickBooks company (if you have more than one).
If logged in to QuickBooks already, you won't have to type anything—just a few clicks.
Click the "Connect" button to authorize OwnerRez to do things on your behalf. You'll then be redirected back to OwnerRez, where you'll see the authorized connection and present you with a page to map your charge line items, taxes, and properties.
Settings and Options
A settings page is available for each QuickBooks Account you connect to OwnerRez. The settings page tells us how you want your OwnerRez booking data inserted into QuickBooks and which QuickBooks accounts, products, classes and so on we should use. The settings page has lots of sections, but it's not difficult to understand once you figure out what it's getting out. Take a look.
First, there is the high-level overview settings which set basic things like invoice date and numbering.
Ask yourself "if I were creating an invoice in QuickBooks from an OwnerRez booking, what would booking fields would I use to fill in the invoice fields"? Think about that as you look at the settings page and that will help you understand what OwnerRez needs to know in order to create invoices correctly.
For a detailed step-through of all the QuickBooks settings and options tab, please watch our QuickBooks Settings & Options video.


